Custom cornice window treatments can be extremely expensive. In this tutorial we show you how to make a diy window cornice for about $20 dollars each. A window cornices are the square window covers at the top of windows that provide a very nice looking alternative to full drapes.
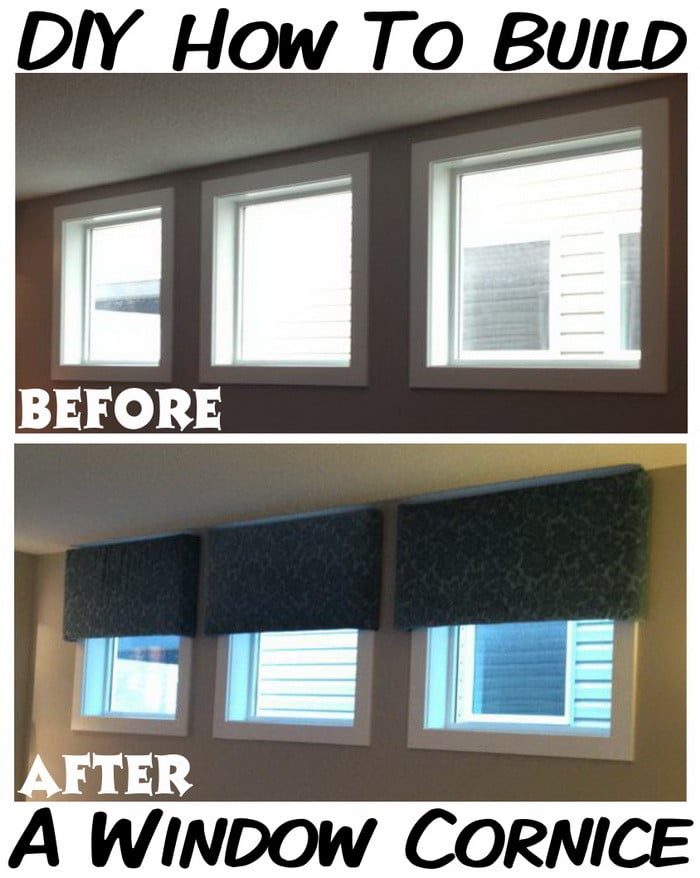
With a little creativity and a sense of diy style, you can make these window covers for much less than a professional company would charge you. You really only need a few types of common tools that most people already have.
To make your own diy Cornice Window Treatment you will need:
Builder’s Insulation Foam – 1/2 inch foam insulation, only $8 per sheet from Home Depot.
Duct Tape – To hold the builders foam together.
Batting – To go between the foam and the fabric.
Fabric – To drape over the builders foam.
Staple Gun – To staple the fabric and batting to the foam sheets.
Scissors – To cut the fabric and the batting material.
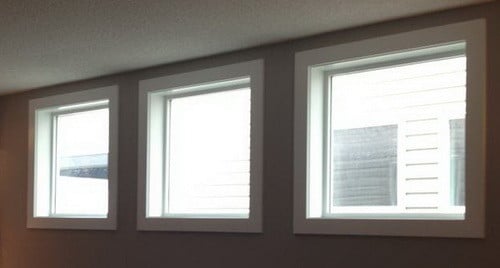
Here are the windows before the cornice window treatment was installed.
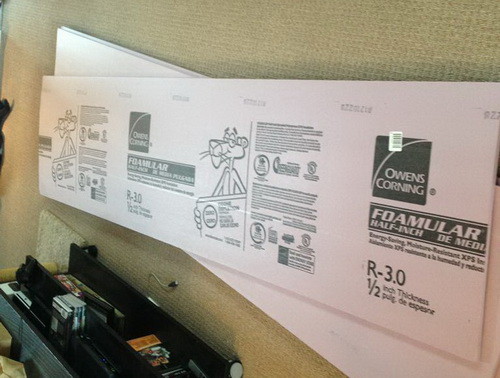
Here is the 1/2 inch foam insulation sheets we purchased. These work way better than wood! Lighter too!
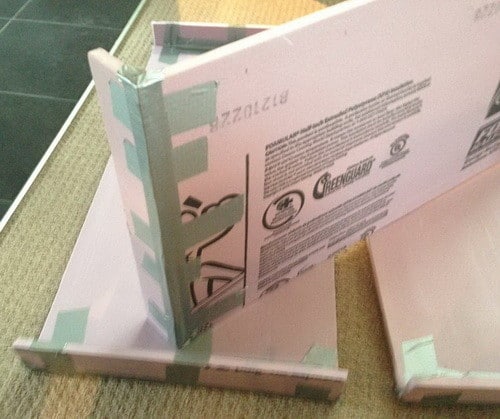
The foam boards have been cut to size and we have secured it together with simple duct tape.
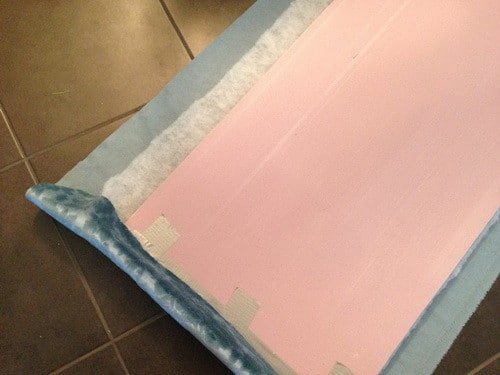
We then added the batting and fabric and used our staple gun to secure it to the foam boards.
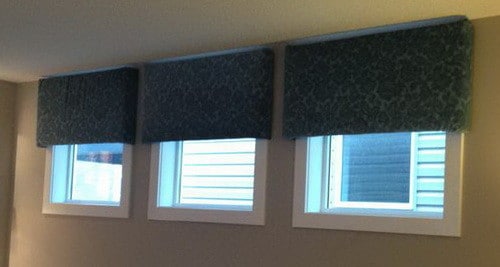
For under $20 bucks we added these to our new homes windows. Cheap, easy and anyone can do it!